Installing on Digital Ocean
Using Digital Ocean to host Telebugs is a great choice. It’s affordable and easy to set up.
After signing up for a Digital Ocean account, follow these steps. It should take about 5 minutes.
In your Digital Ocean account, go to
Create > Dropletsand pick a plan for your server.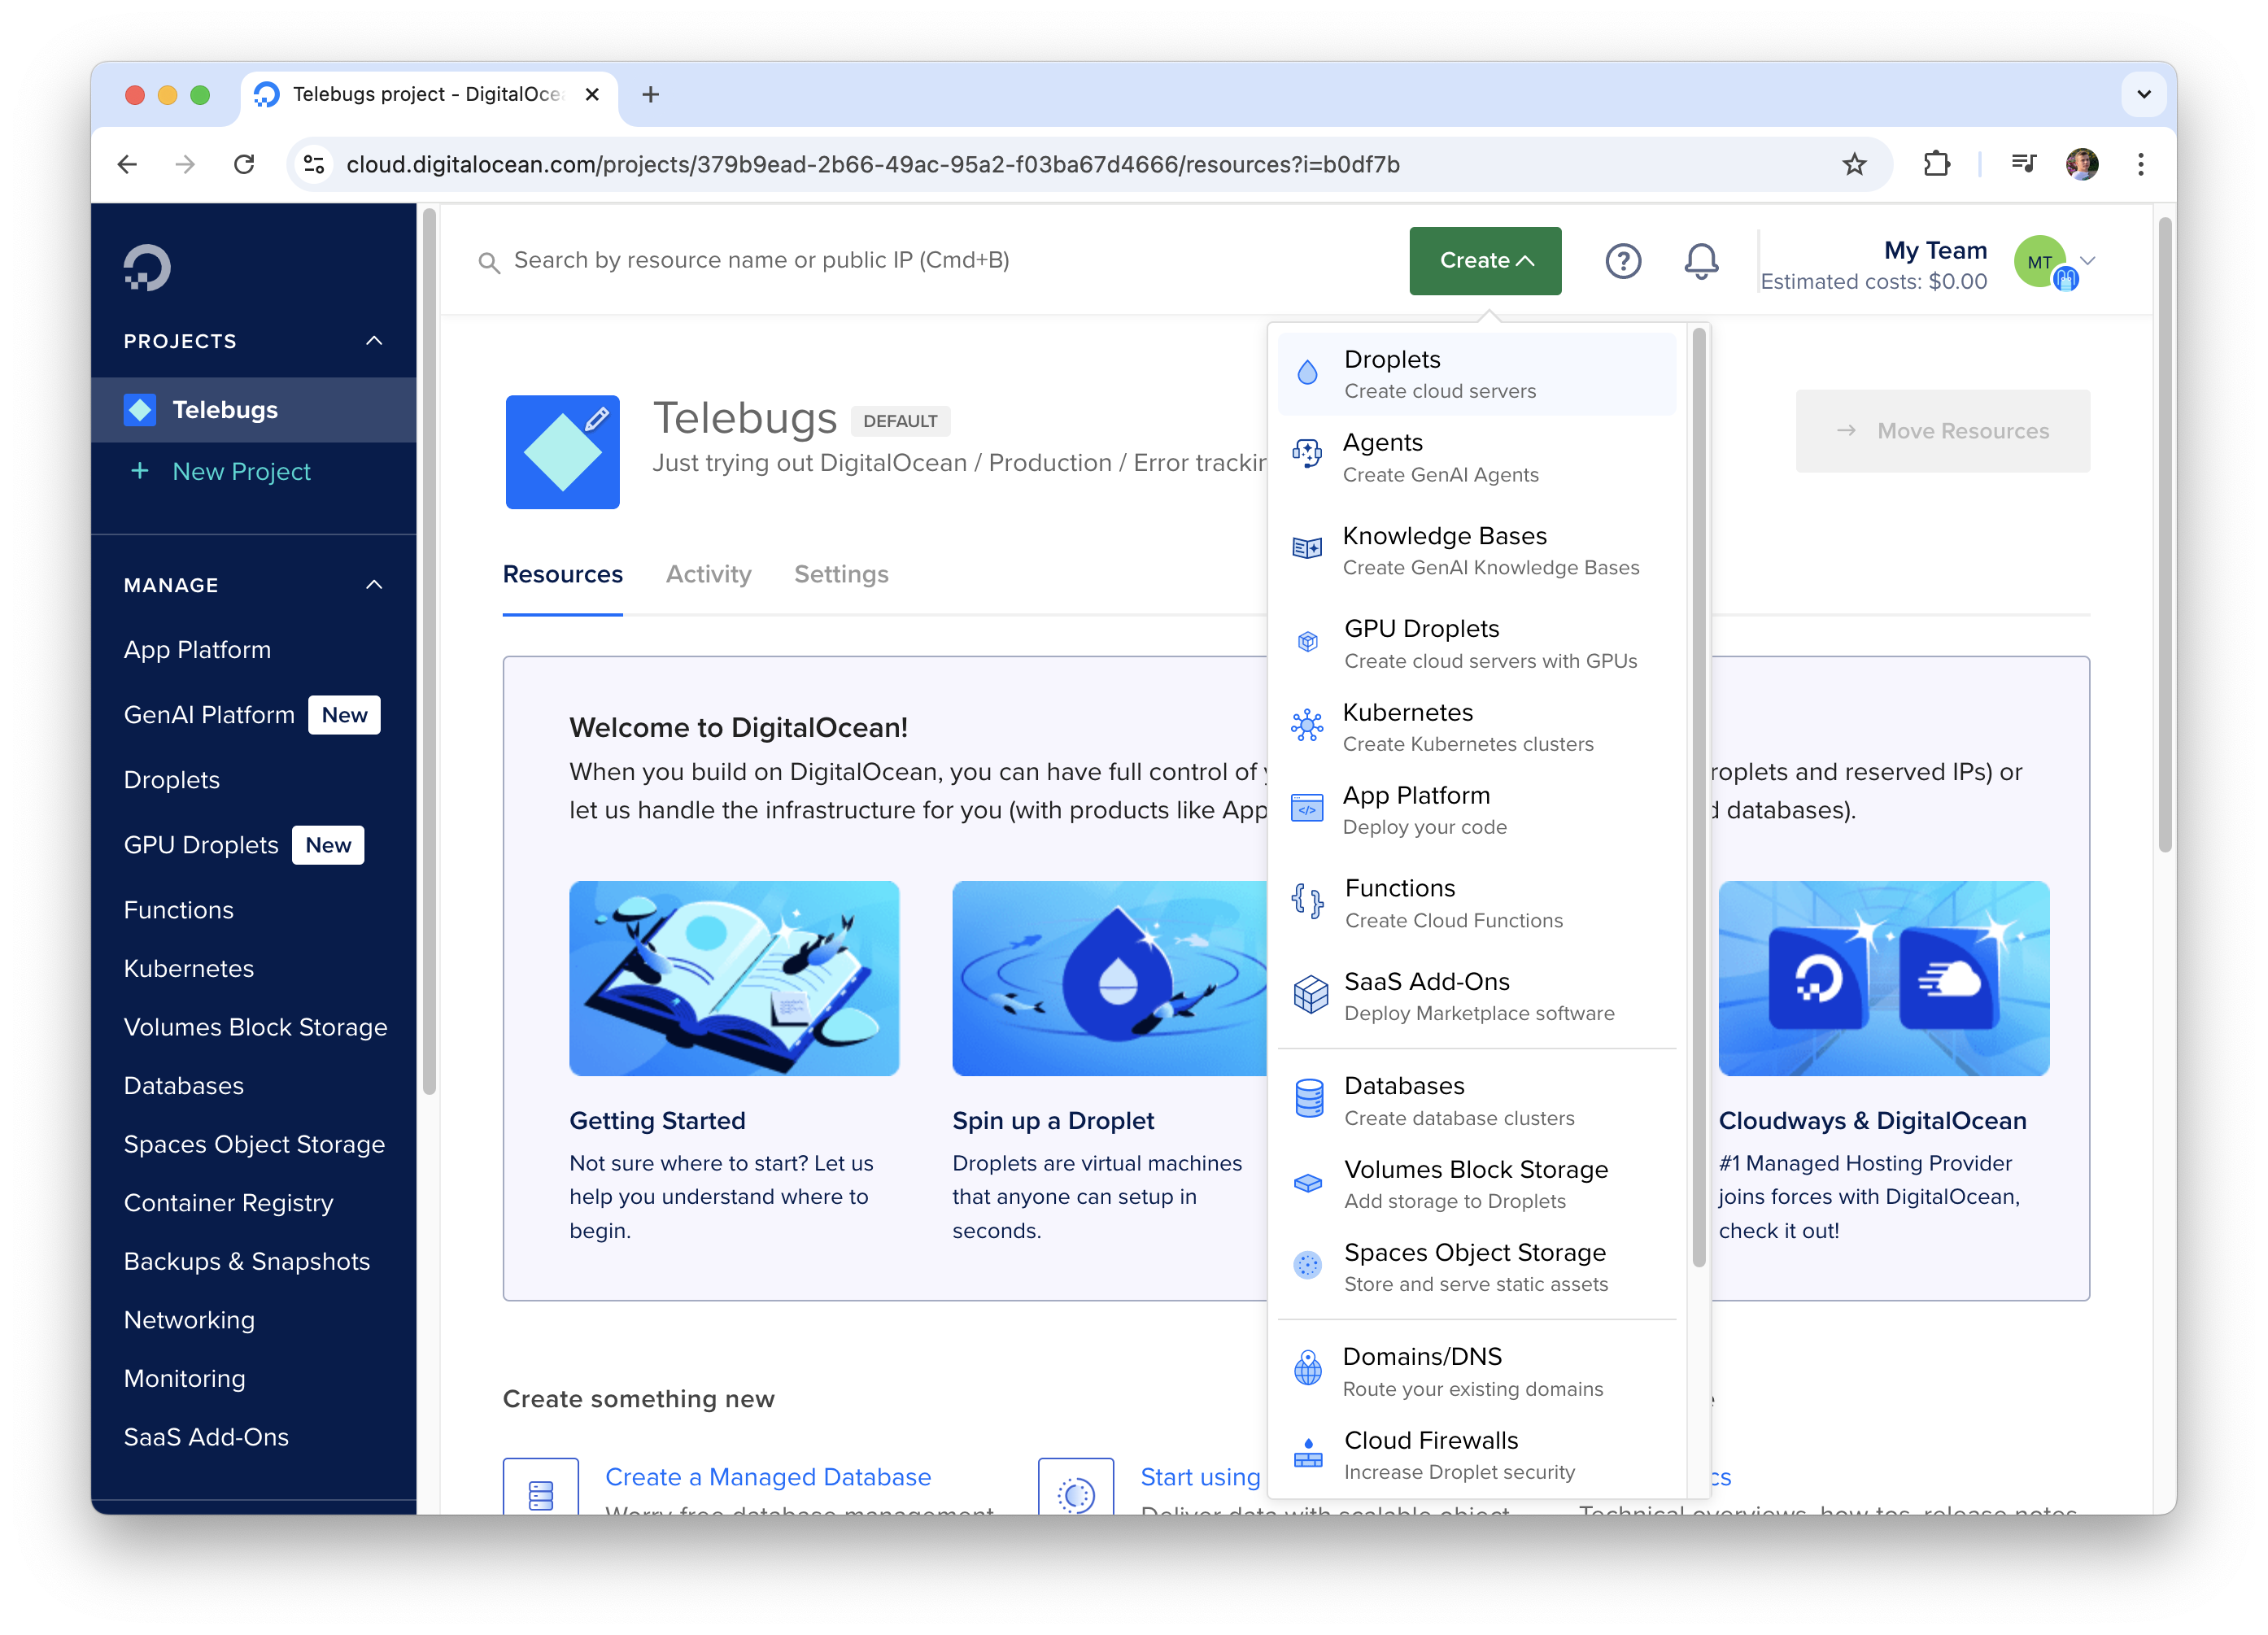 You need at least 2GB RAM and 1 CPU. IMPORTANT: Don't use ARM64 — Tailwind doesn't work on it yet, and Telebugs relies on Tailwind. Learn more.
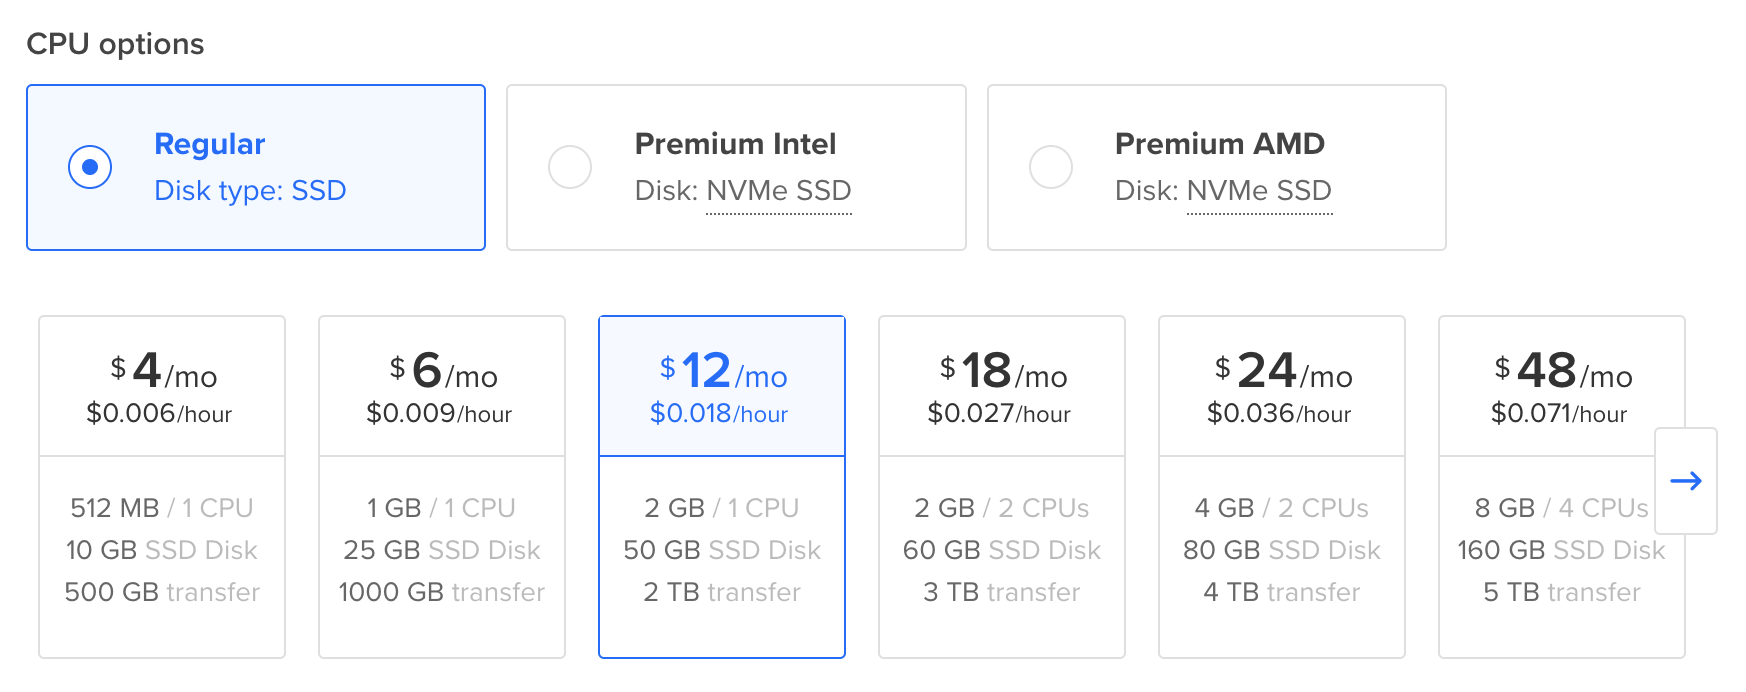
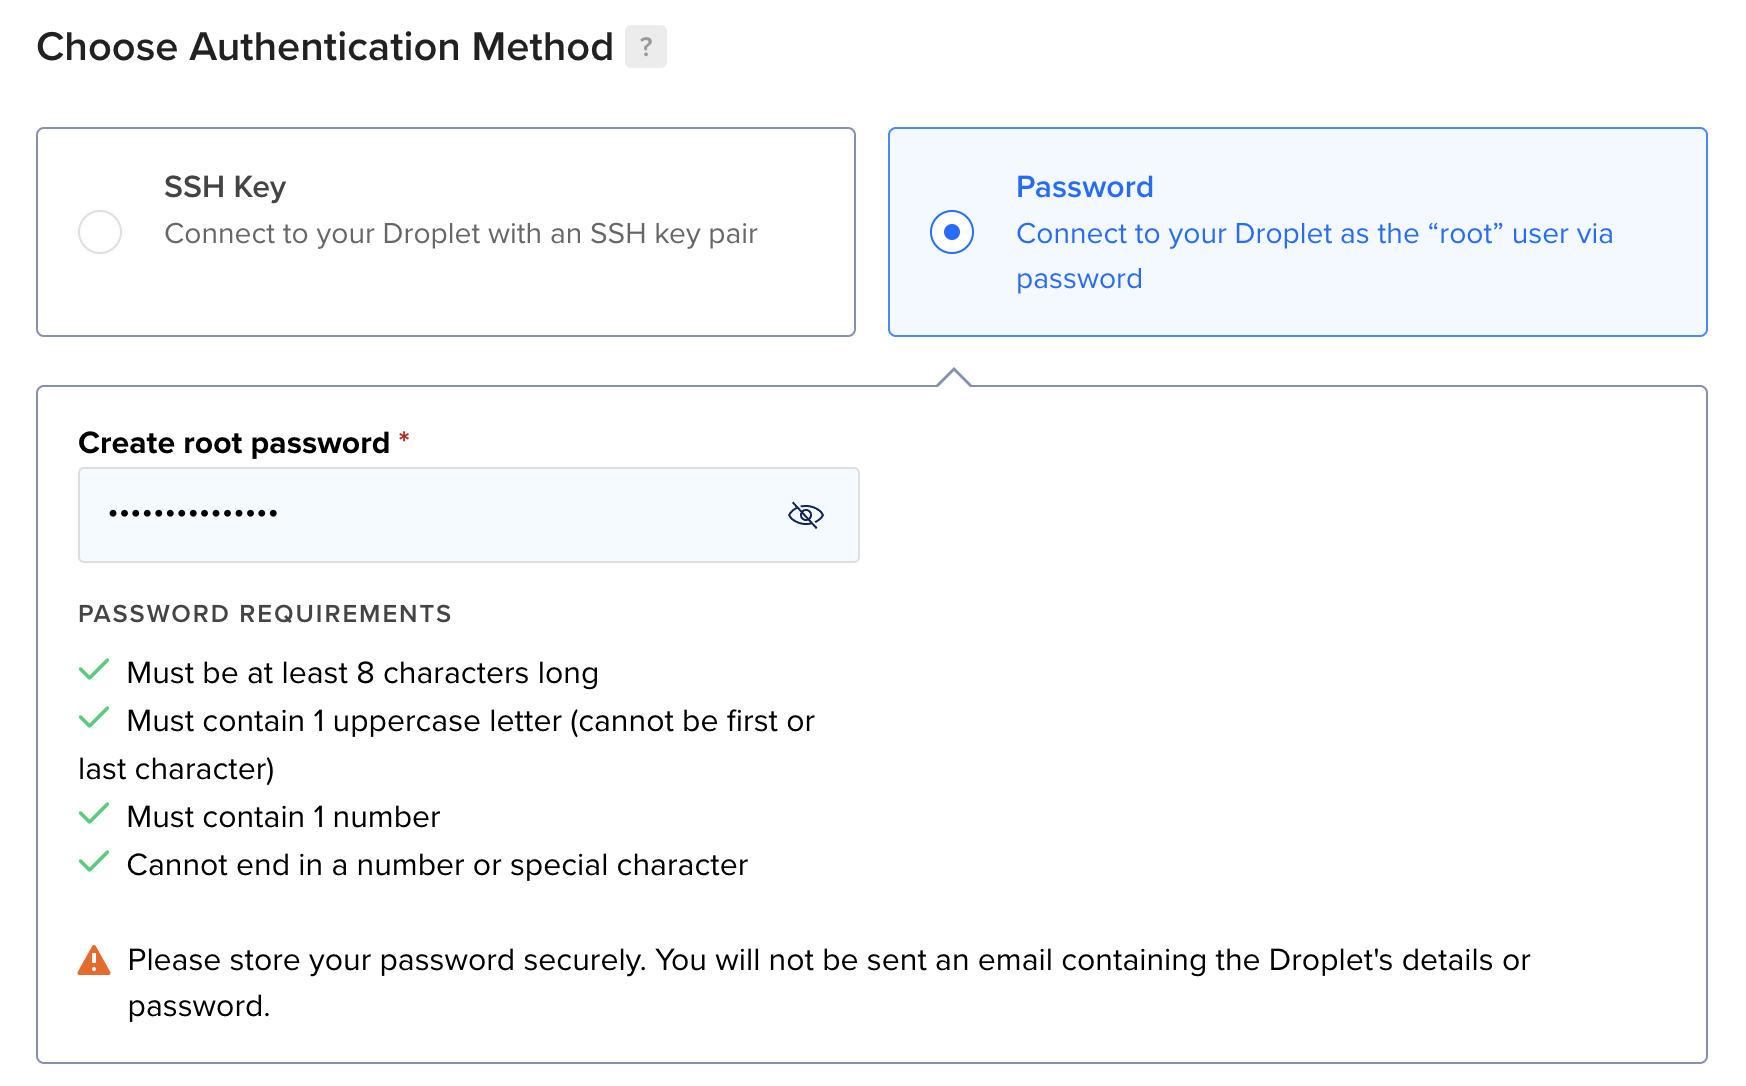
Set a password to connect to your server.
Leave the other settings as they are and click Create Droplet. Wait a few minutes for it to be ready, then click it.
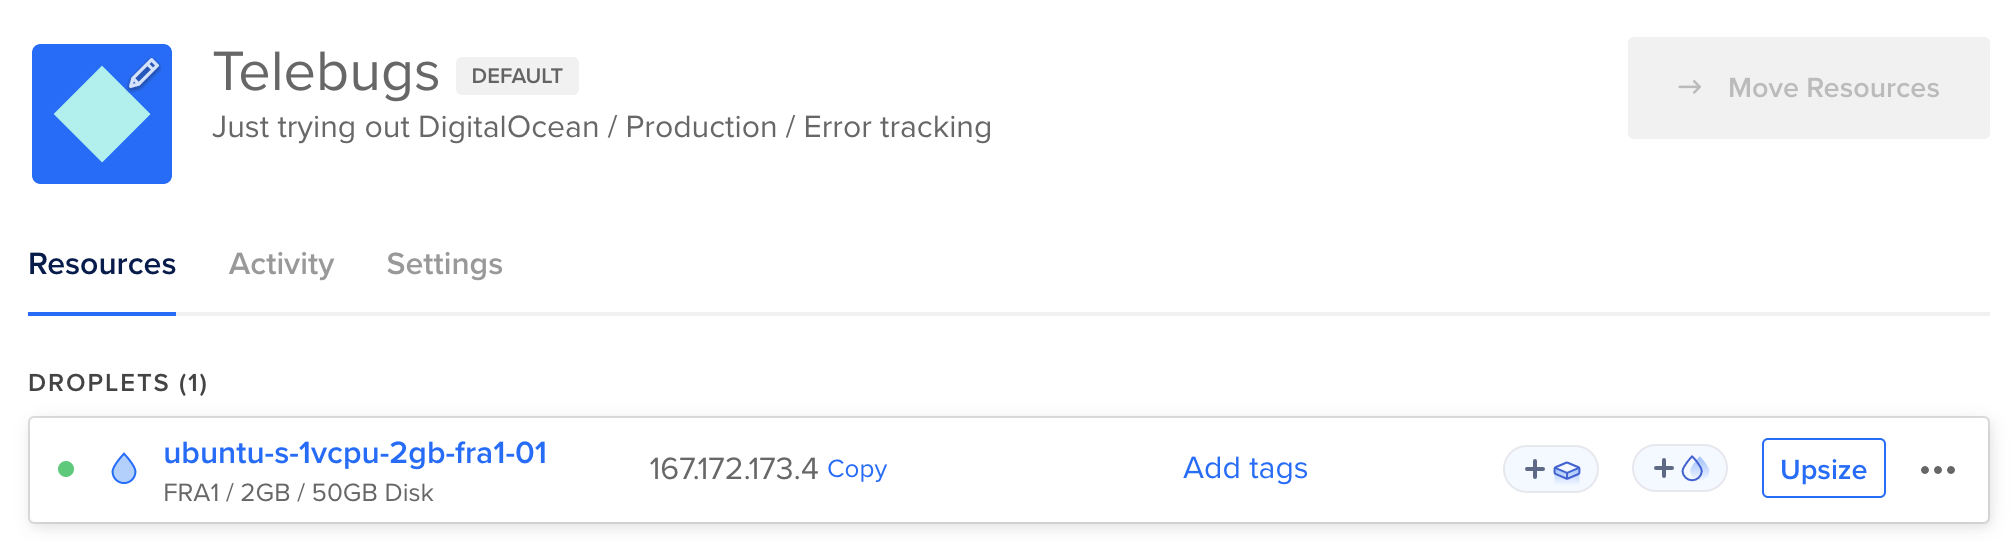
Copy the
ipv4address. You’ll use it to link your domain to this server.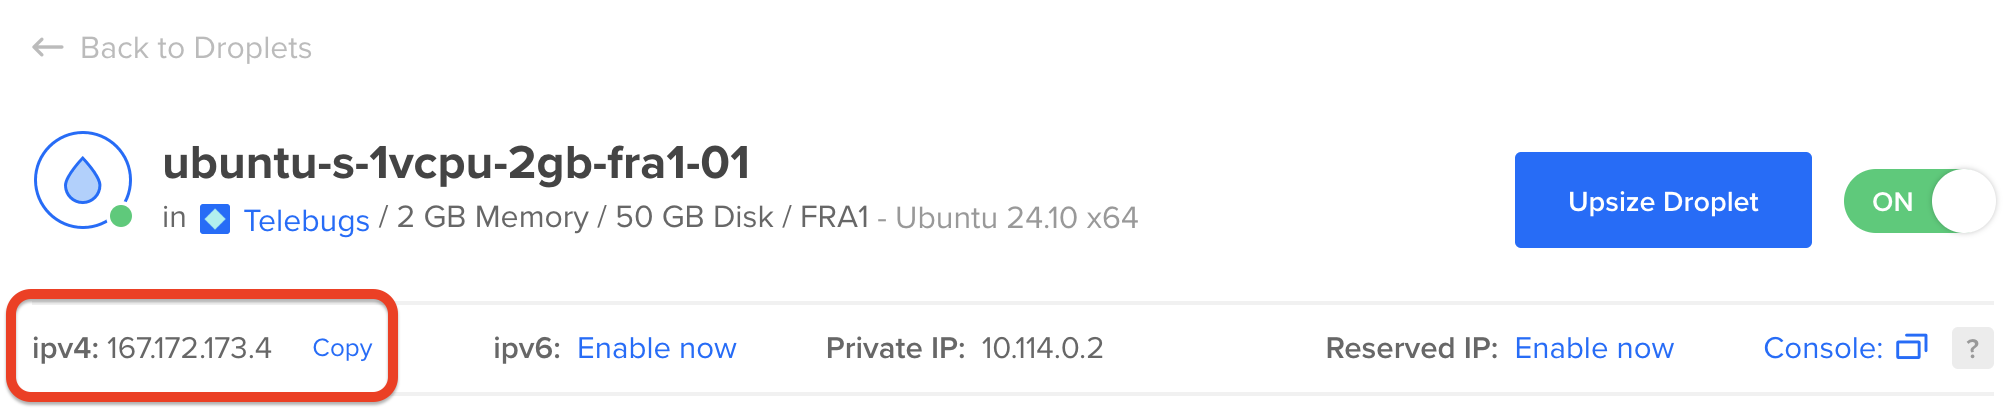
Go to your domain provider’s site (like GoDaddy, namecheap, or Cloudflare). Log in, find the domain management section, and add an
A recordwith the IP you copied. It should look like this: Ensure that proxying is disabled.
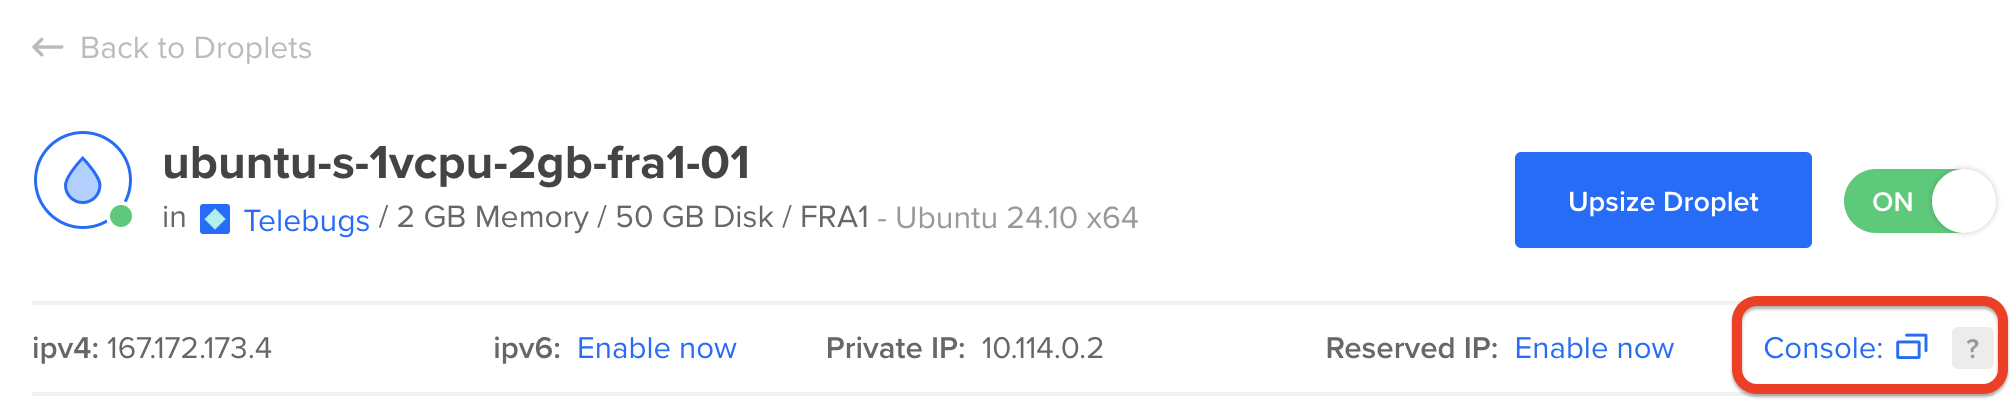
Back in Digital Ocean, find your Droplet and open the Console to access your server.
Check the confirmation email we sent you for the install command. Paste it into the command line.

When prompted, type your domain name (the same one you used for the A record). The system will finish the setup. After a few minutes, you’ll see this:
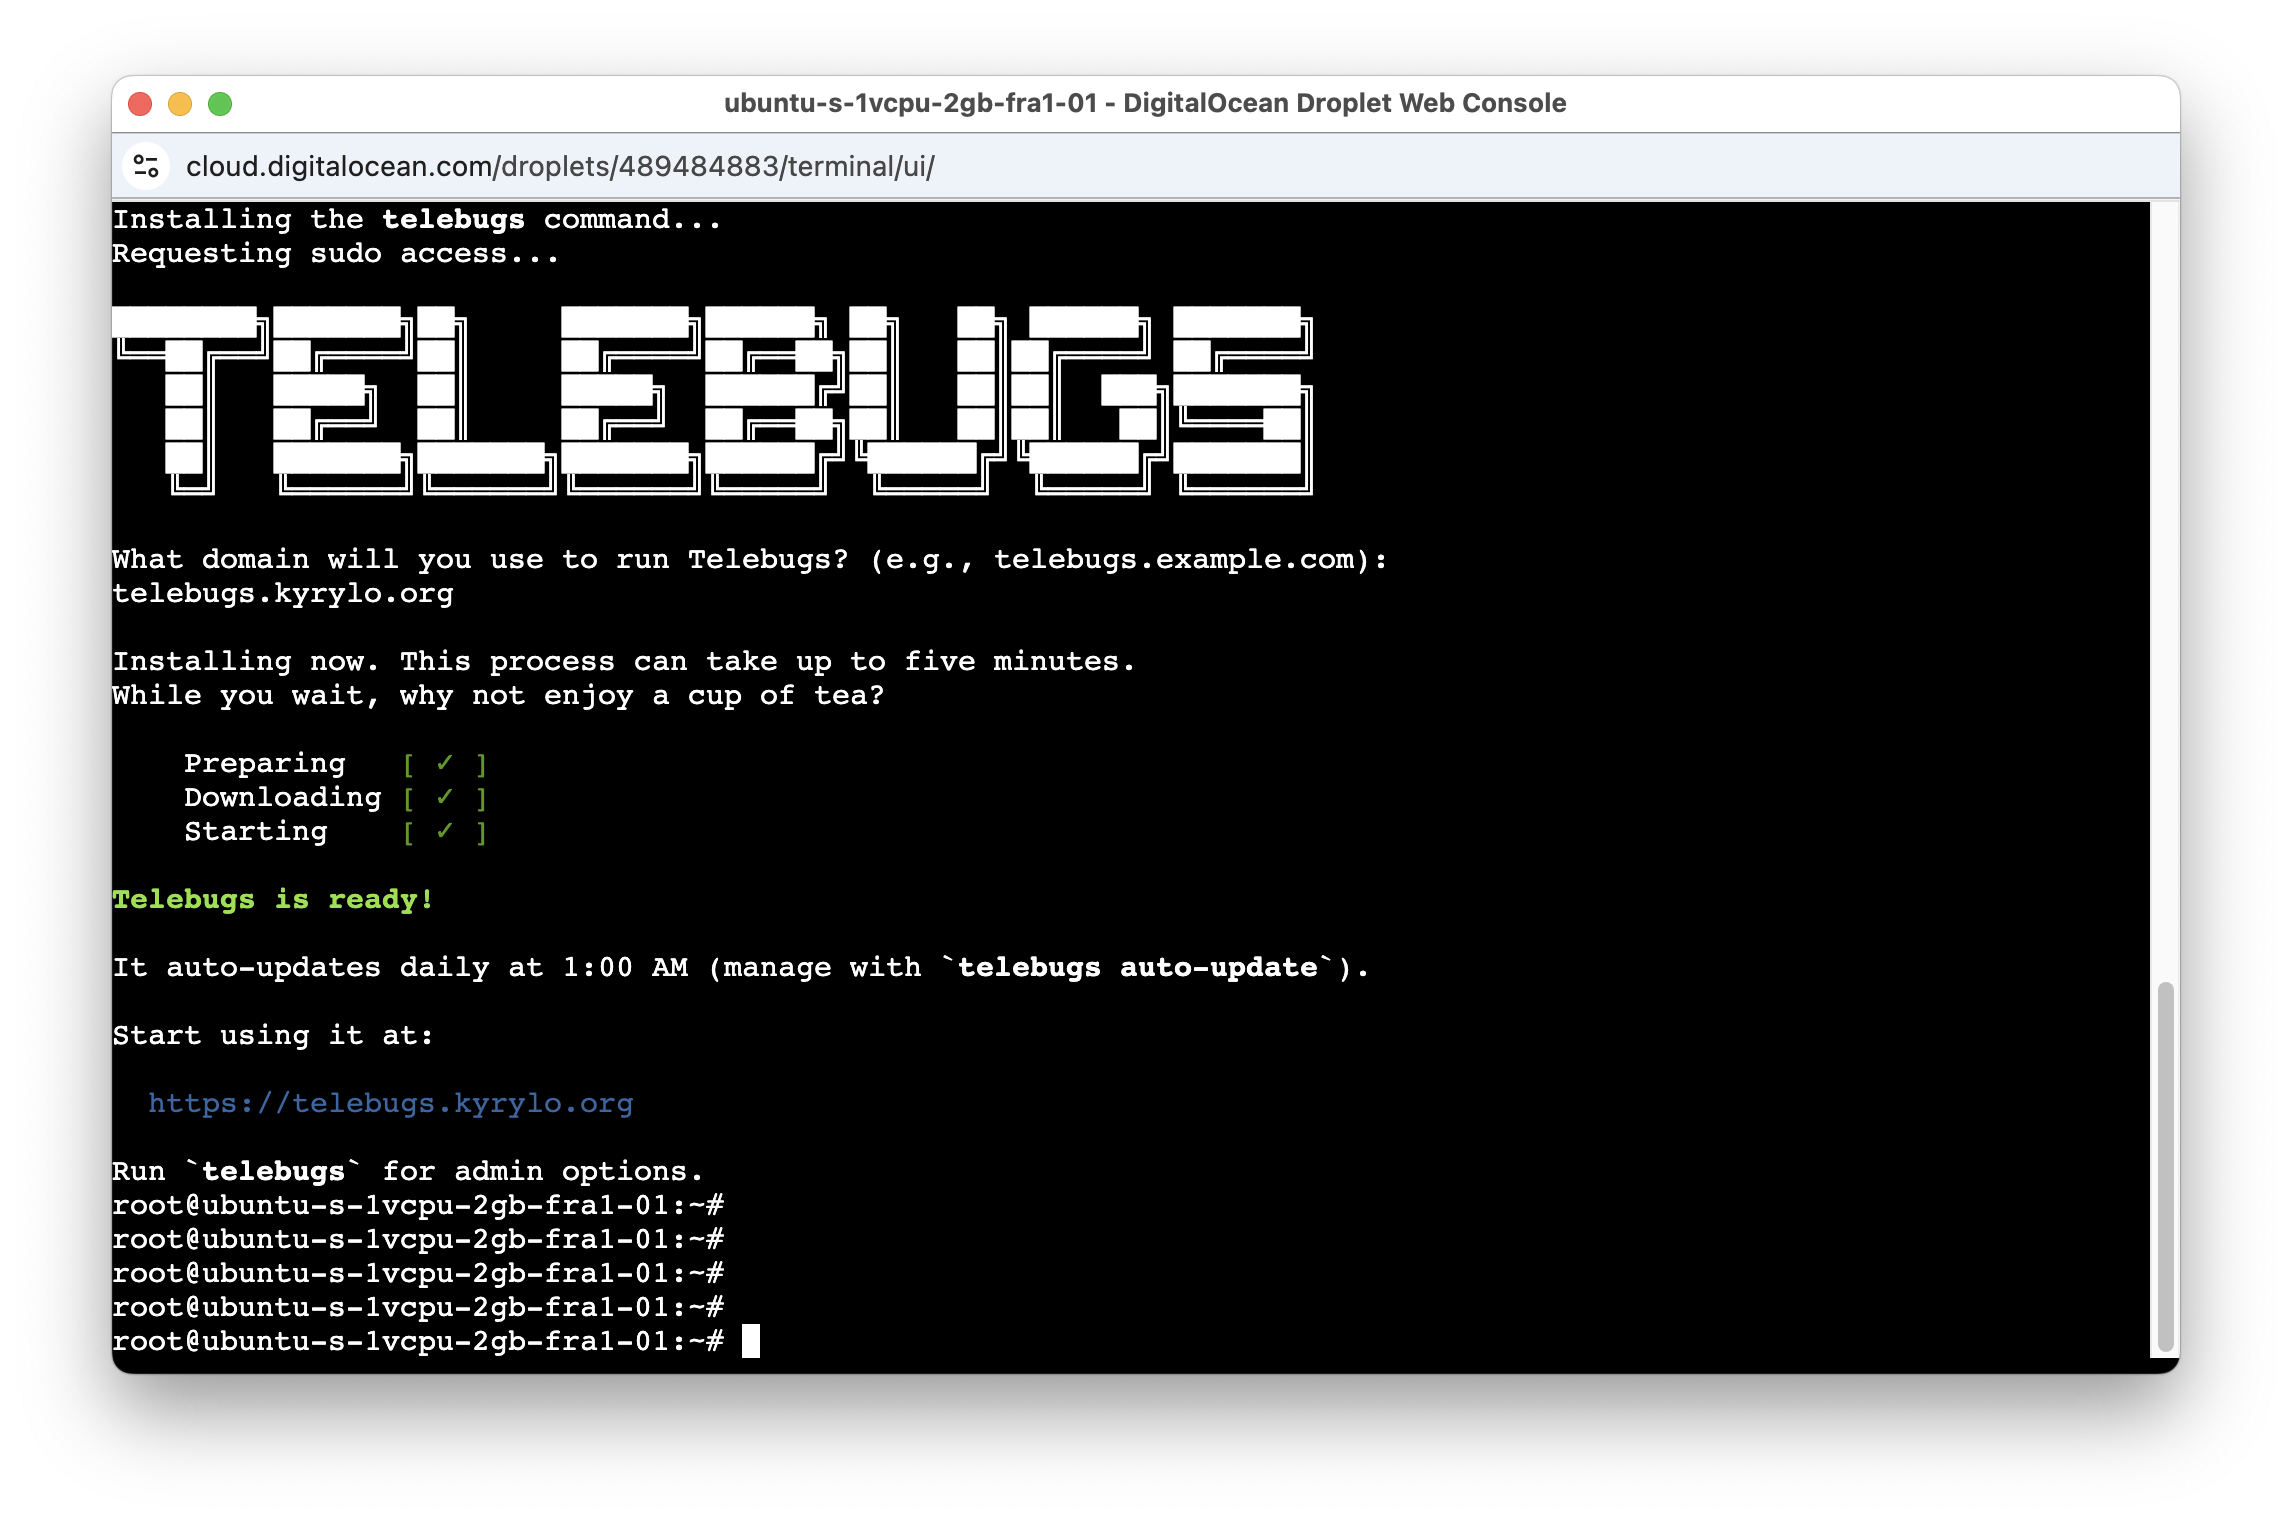
All set! Open the URL in your browser and create your Telebugs account.